Angles and flatness
Precision levelPrecision level (spirit level)
Also called: block level, flat-base level, level
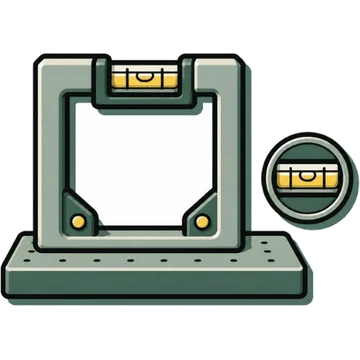
≡Standards, measuring range and accuracy
- Standard
- JIS B 7510:1993 Precision levels[1][2]
- Measuring range
- —Not confirmed in public sources
- Resolution / graduation
- Sensitivity 0.02 / 0.05 / 0.1 mm/m (grade A square type)
- Definition The inclination needed to move the bubble one division. Expressed as height per 1 m of base. 1 arcsecond = 4.85 µm per m (≈ 5 µm). 0.02 mm/m ≈ 4 arcseconds, 0.05 mm/m ≈ 10 arcseconds, 0.1 mm/m ≈ 20 arcseconds
- Accuracy (instrument error / maximum permissible error)
- —Not confirmed in public sourcesJIS tables not checked
▦Types
◎Part names and functions
| # | Name | English | Function |
|---|---|---|---|
| 1 | Main vial (bubble length adjustable with the air chamber) | Main vial | [2] |
| 2 | Secondary vial | Cross vial | Checks level in the roll direction when placed on a cylinder.[2] |
| 3 | Adjusting screw | Adjusting screw | Adjusts the bubble position (zero point).[2] |
| 4 | V-groove / base / grip | V-groove, base, grip | [2] |
◷How to read the scale
✋Usage steps
- Checking the zero point (reversal method): place it on a reference surface plate and read the bubble, then reverse it 180° at the same spot and read again[2]
- If it reads the same position after reversal and is within the reference lines → no adjustment needed. Same position but outside the reference lines → the plate is tilted. Moves the same number of divisions left and right → correct the level's zero with the adjusting screw. Scattered → from the side with the larger error, correct half the maximum error on the level, then adjust the plate[2]
- When moving it on a workpiece, slide it rather than lifting it. Read only after the bubble has completely settled[2][4]
- How to measure straightness: place the level at the measuring position and read, slide it a little at a time and read through to the end, convert each reading to height and accumulate, and take the max minus min of the deviations from the straight line joining both ends as the straightness (11.2 µm in Obishi Keiki's example)[4]
Printed from Kezuriba (kezuriba.net/en/gauges/precision-level/)
!Common measurement mistakes and countermeasures
✓Care, storage, inspection and calibration
Care and storage
- After use, rust-proof and put it in the storage box. Check sensitivity after a drop, etc.[2]
Inspection and calibration
- Check accuracy periodically. Adjust the bubble size by tapping lightly with the secondary vial up (larger) or down (smaller)[2]
The four patterns of the reversal method suit a diagram.
⇄Related instruments
📚Sources
Content without a mark is what agreed across two or more sources from different publishers. Procedures and cautions are summarized in Kezuriba's own words based on the sources, and the diagrams were drawn by Kezuriba. Accuracy values are manufacturers' published figures, not values from JIS tables.
- Japanese Standards Association (JSA), "JIS B 7510:1993 Precision levels (bibliographic record)"
- Obishi Keiki, "Precision Block Level (JIS B 7510 Grade A) Instruction Manual AA201"
- Obishi Keiki, "Precision Block Level (JIS B 7510 Grade A) Product Page"
- Obishi Keiki, "How to Measure Straightness with a Level"